
Meridian News
DIY Lightbox – Intermediate Photography
DIY Lightbox
I remember when I first bought my camera, I was so excited. I learned all about aperture, shutter speed and ISO – basically all the things a professional needs to know. When I took photos outside, they almost always looked amazing. Then, I went inside and tried to photograph products or smaller items. None of those photos turned out. Natural window light was my only saving grace, but being tied to a window really restricted my shots. As a girl on a budget, buying a lightbox to support my hobby was out of the question; however, making a lightbox for free was definitely an option.
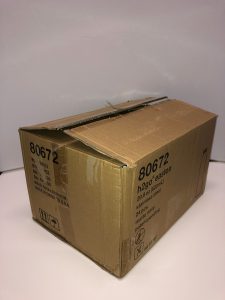
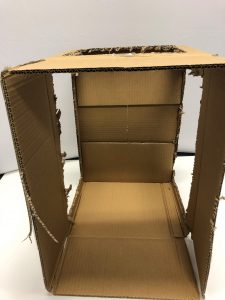
Step 1. Source and Cut a Box
Literally any box will work. Don’t have one on hand? You can go to Walmart and ask if they have any boxes you can take. Don’t want to get out? Just order something on Amazon that will ship in a box big enough for a lightbox! Cut out three of the sides and cut the box flaps off. Then, place paper or tissue paper over the openings to filter and disperse the light. Cardstock will be too thick, so if you only have smaller papers just tape two pieces together.
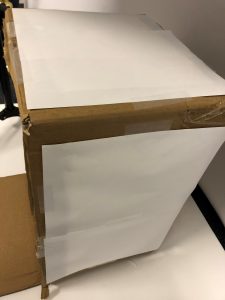
Step 2. Set Up The Backdrop
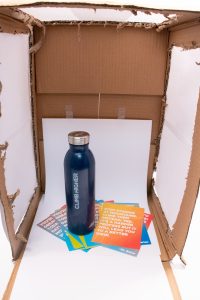
The example shown is one long piece of white paper. The seamless effect adds a nice touch to finished photos. If you would like to add texture to the backdrop, a wood paper roll can achieve that look. A cutting board makes an excellent surface – it can imitate a butcher block countertop for food products as well. Look around your house for pieces of wood, fabric scraps or coasters. You never know what could take your photo to the next level.
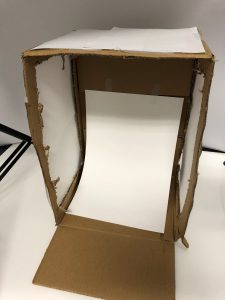
Step 3. Lights, Camera, Action
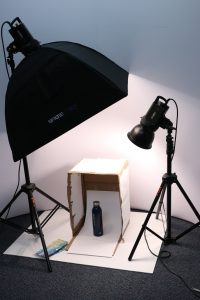
The lights pictured here are professional photography lights, but you don’t need to drop hundreds of dollars on lights for this project. Two gooseneck desk lamp make the perfect lights for the sides. It is flexible and the light is very bright. A table lamp could work, but it is not as easy to direct the light. You could use a third lamp for a top light, or make your own softbox to place face down on the top.
Bonus Tip: Don’t Knock it Until You See It
Don’t judge how the product looks until you look at it through your camera lens. Check out this comparison of what the setup looks like versus. how the shot came out. Don’t be afraid to add other items to the background of the shot or on the bottom. Simple is effective, but sometimes adding depth makes your product pop even more.

Want to improve your photography skills? Join us for our upcoming Intermediate Photography class starting November 3 and running every Tuesday through December 8 from 6:00 pm to 9:00 pm. In this course students will expand on concepts and techniques learned in the Photography: Basic course. Topics will include history of cameras, features, film types and uses, elements of exposure, lens types and uses, basics of composition, light meters, flash units, lighting techniques, depth of field, rule of thirds, shooting various locations, focusing on the subject, multiple flash use, situations, time exposures, filter uses, difficult shooting and marketing yourself. To find out about more courses like this, sign up for our monthly e-newsletter. View all upcoming courses in our digital catalog. Call 405.377.3333 with questions.


Leave a Reply
You must be logged in to post a comment.